Flexspeak Studio Guide
Flexspeak Studio allows you to create custom AAC materials, communication boards, and visual supports. This feature provides professional-grade tools for designing personalized printable resources with multilingual support and AI-powered content generation.
Overview
Studio enables you to:
- Create custom communication boards with various grid layouts
- Generate content using AI based on topics or themes
- Add multilingual text to support language learning
- Customize visual elements including symbols, photos, and colors
- Export professional materials for printing or sharing
Getting Started
Accessing Studio
- Navigate to the Studio section in your Flexspeak side navigation.
Creating a New Printable
- Click "Create Print" to open the template selection modal
- Browse available Basic templates:
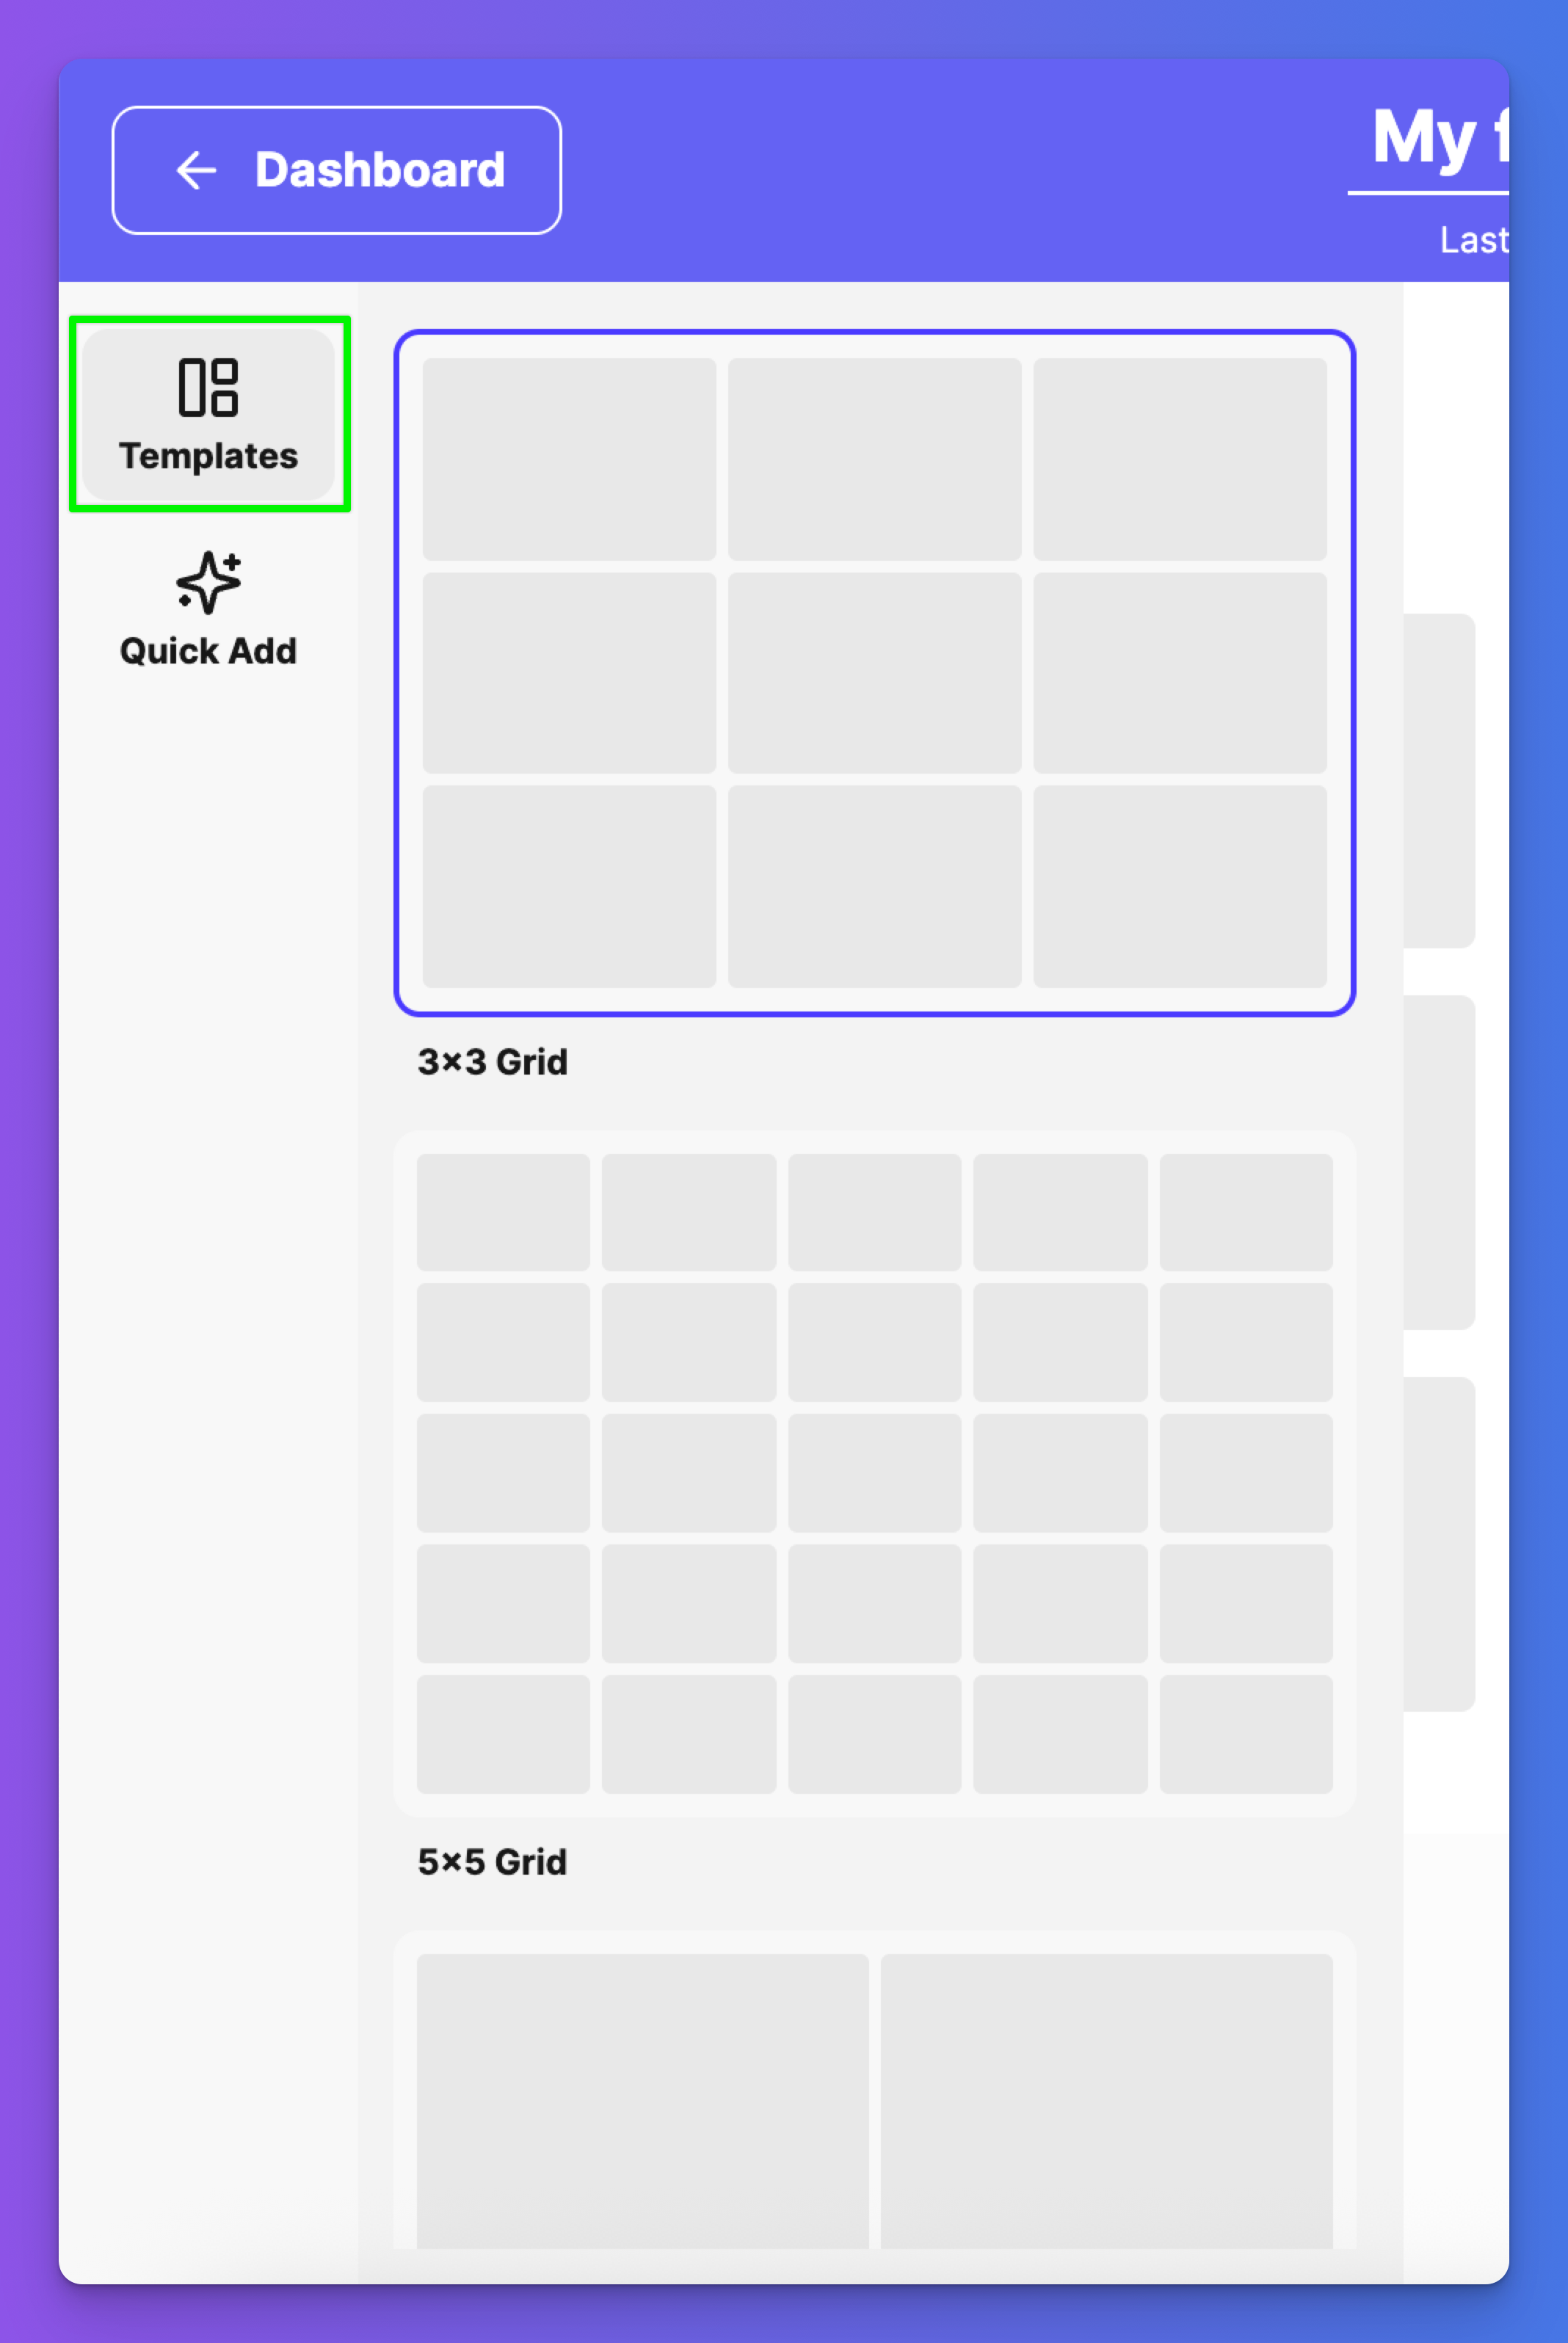
- 3×3 Grid: 9 cells, ideal for core vocabulary
- 5×5 Grid: 25 cells, comprehensive communication boards
- 2×1 Grid: 2 cells, simple choice boards
- 6×10 Grid: 60 cells, extensive topic-based boards
- Select your preferred template and click "Create Print"
Naming Your Printable
File Name:
- Click "Untitled" at the top of the page to rename your printable
- Enter a descriptive name that helps you identify the content and purpose
- Names are saved when you manually save the printable
Board Name:
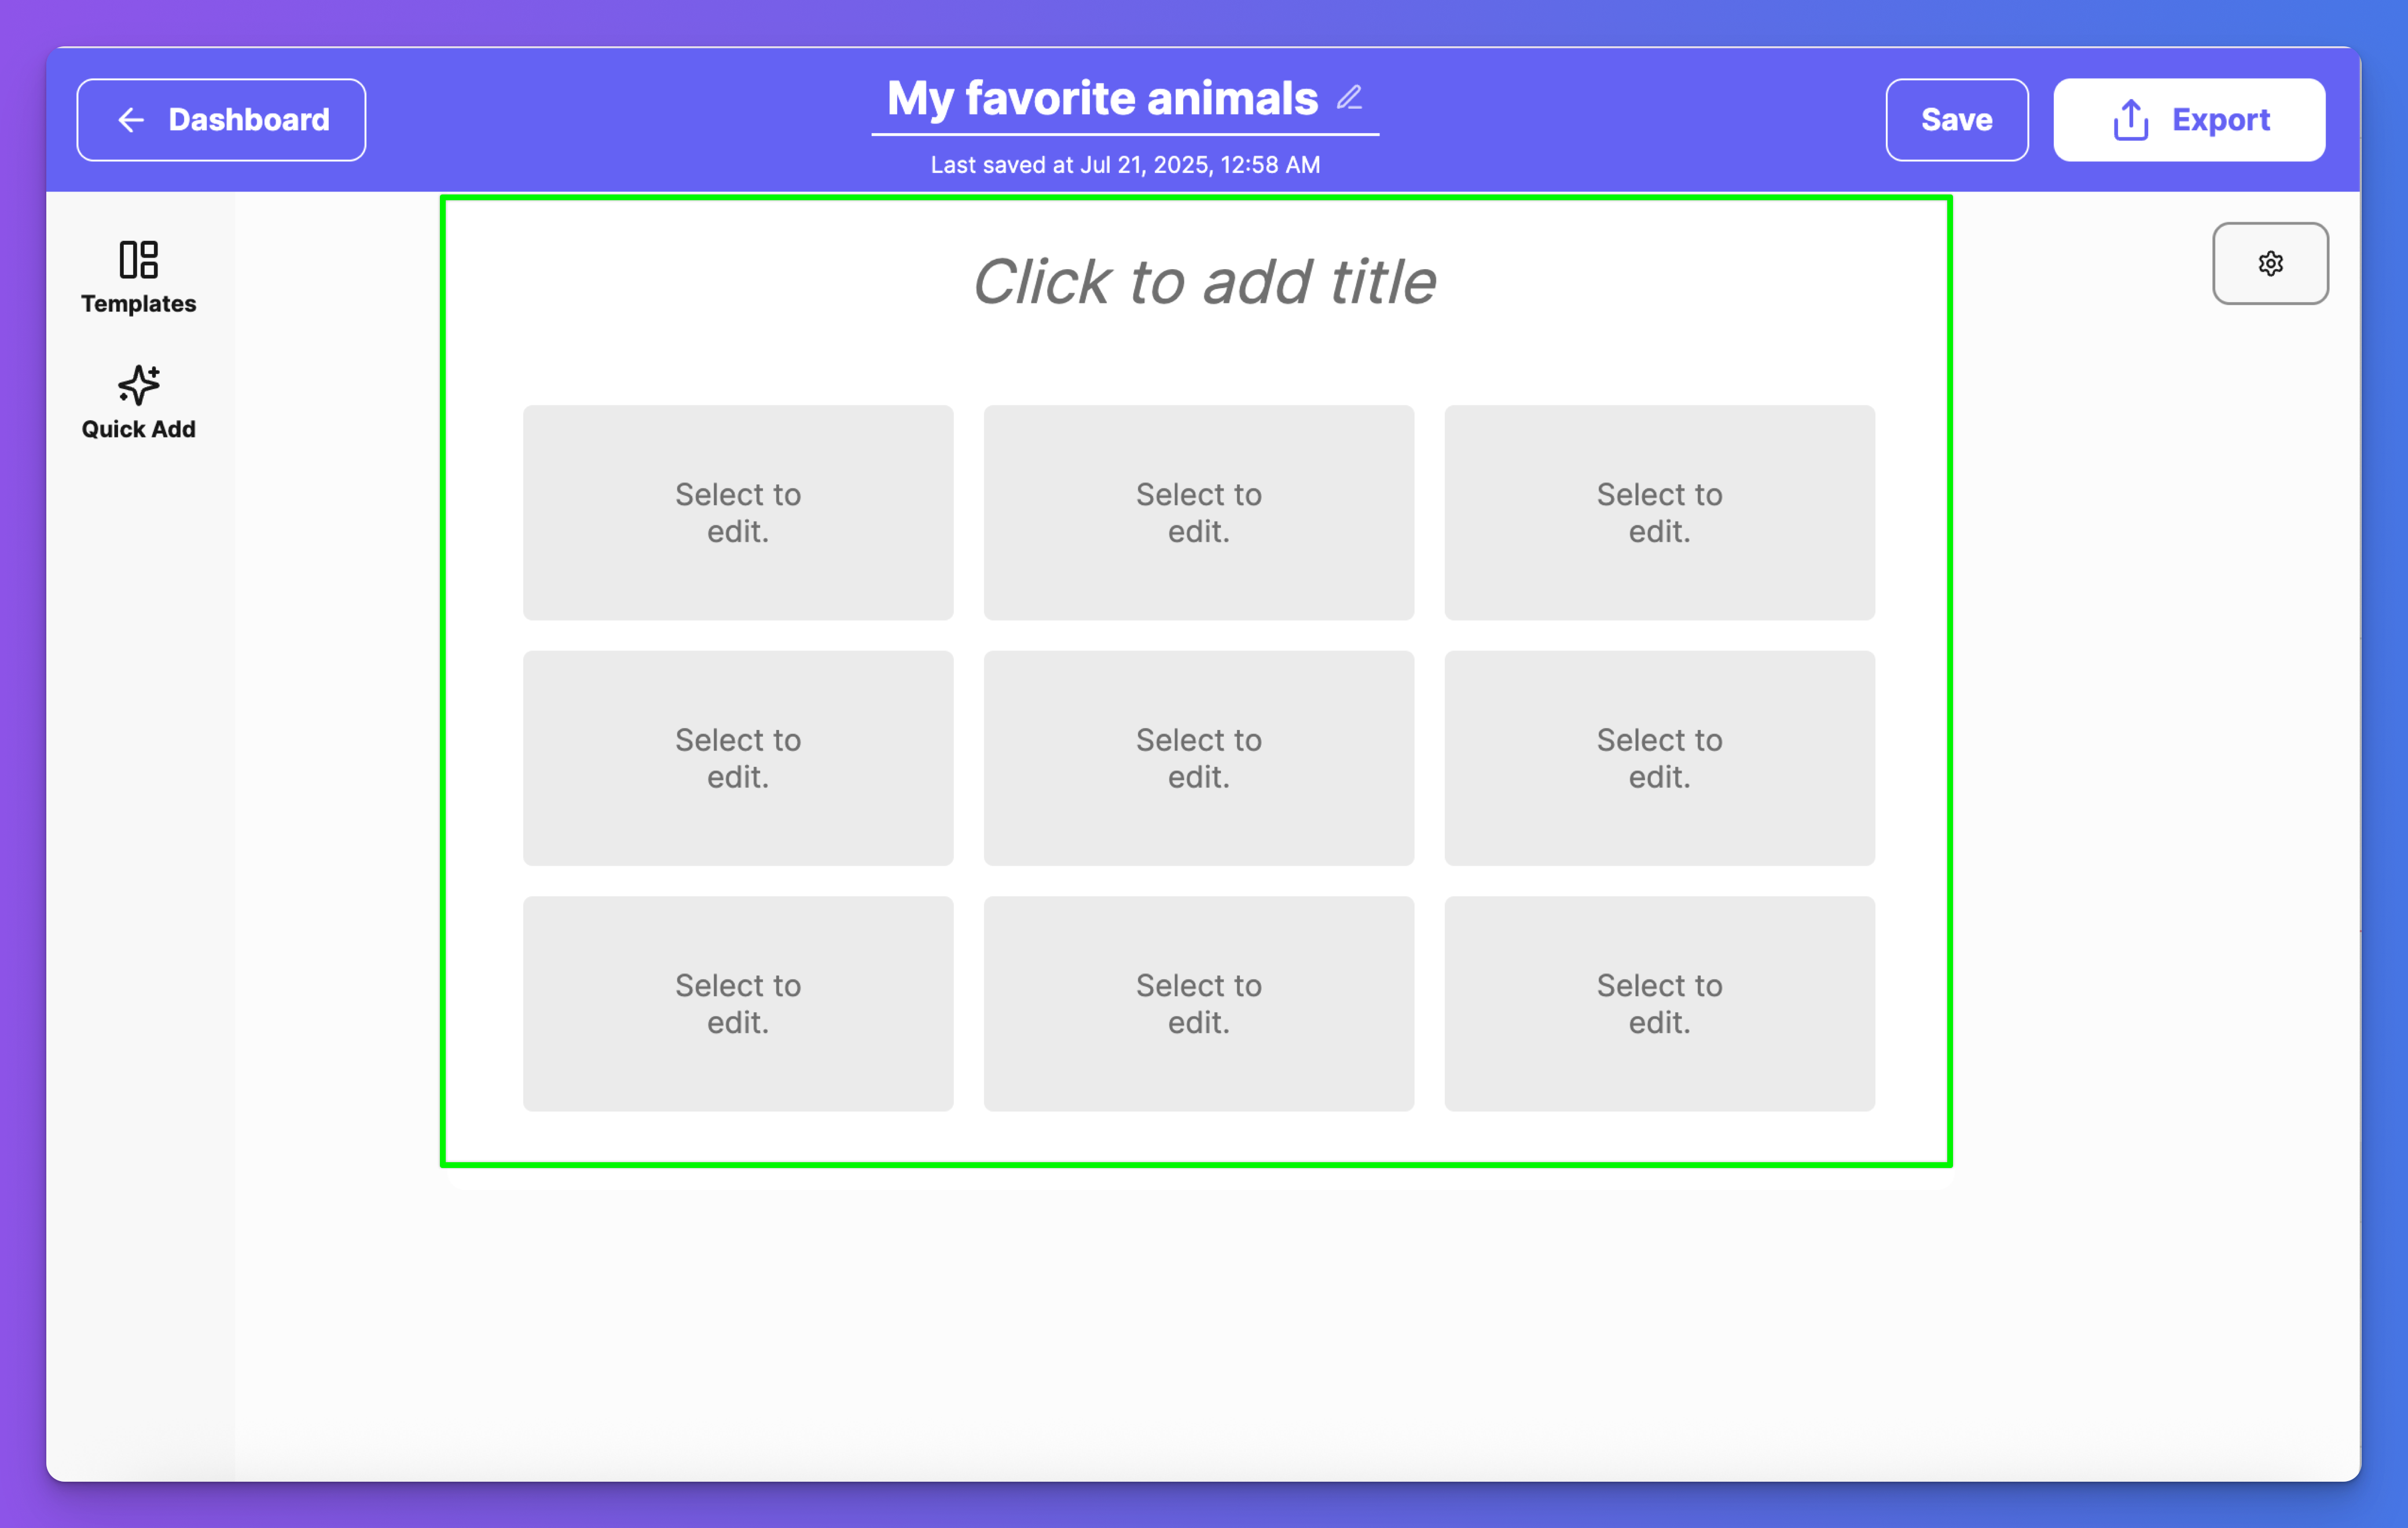
- Click "Click to add title" above the grid to add a title.
- Enter a descriptive name that helps you identify the content and purpose
- Names are saved when you manually save the printable
To exclude a title from your printable, simply leave the title field blank. It won't appear when you export.
Building Your Printable
The editor provides several key areas:
- Main grid area: Where you design your communication board
- Templates panel: Switch between different grid layouts
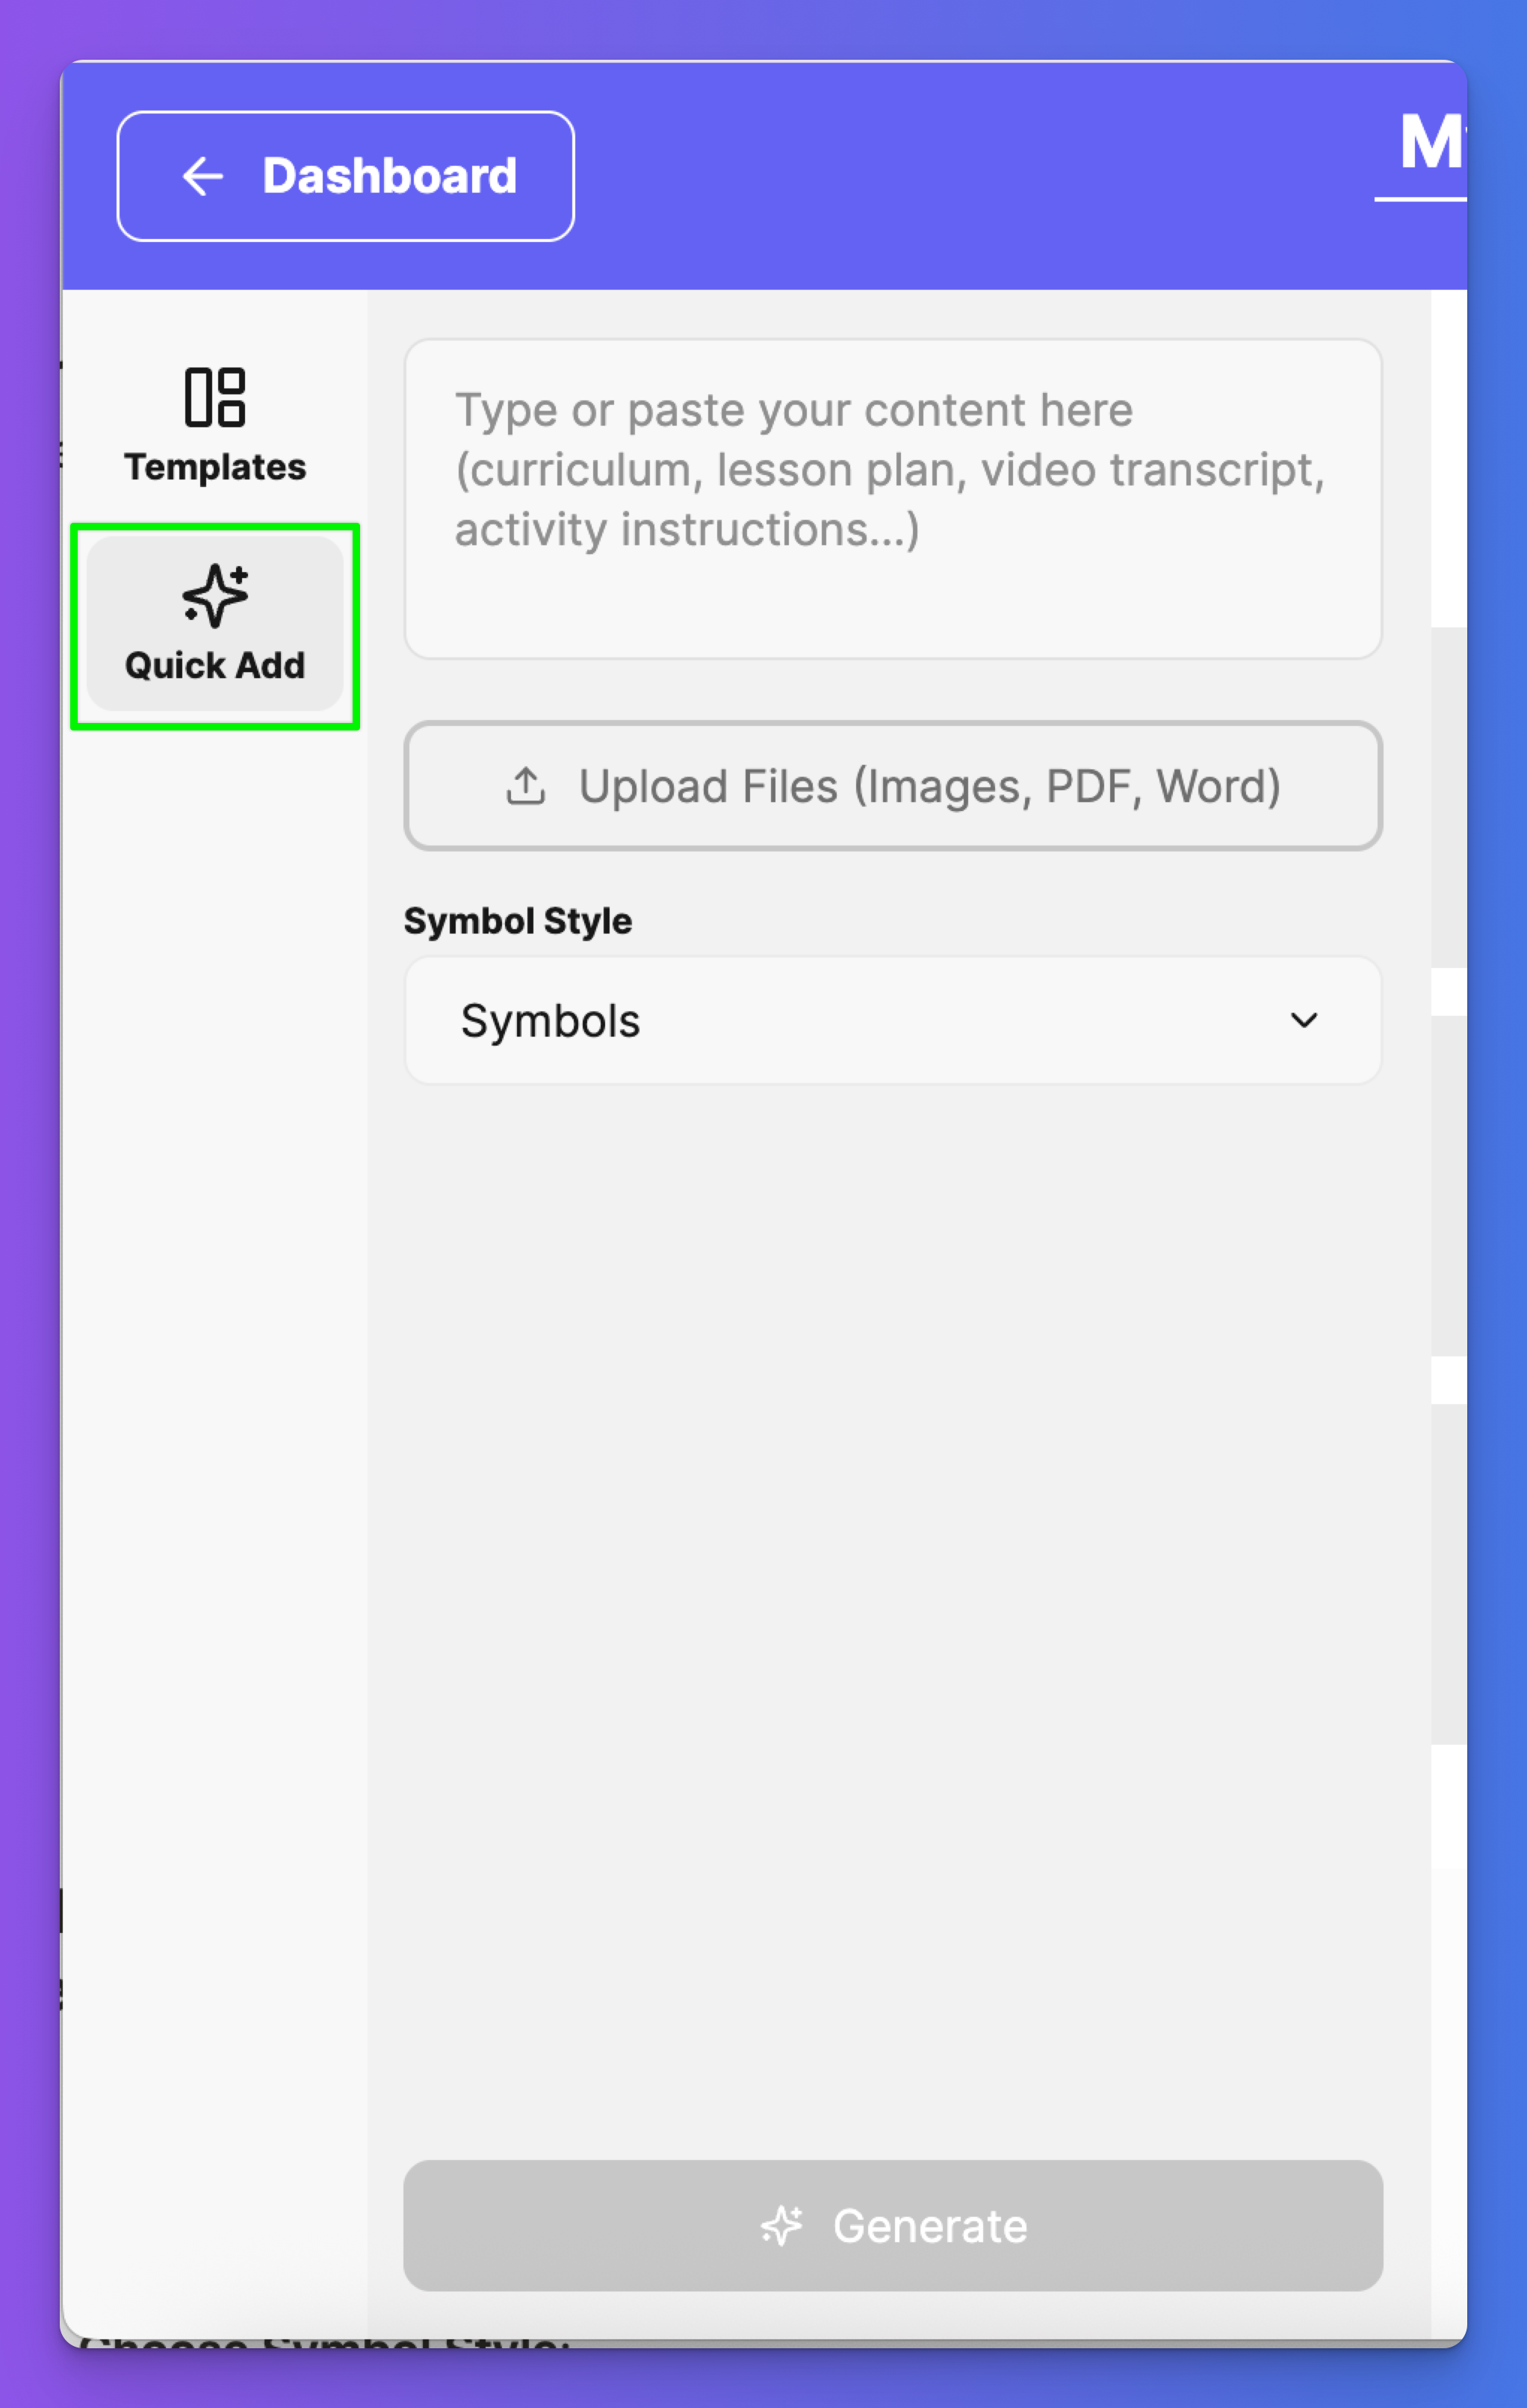
- Quick Add panel: AI-powered content generation tools
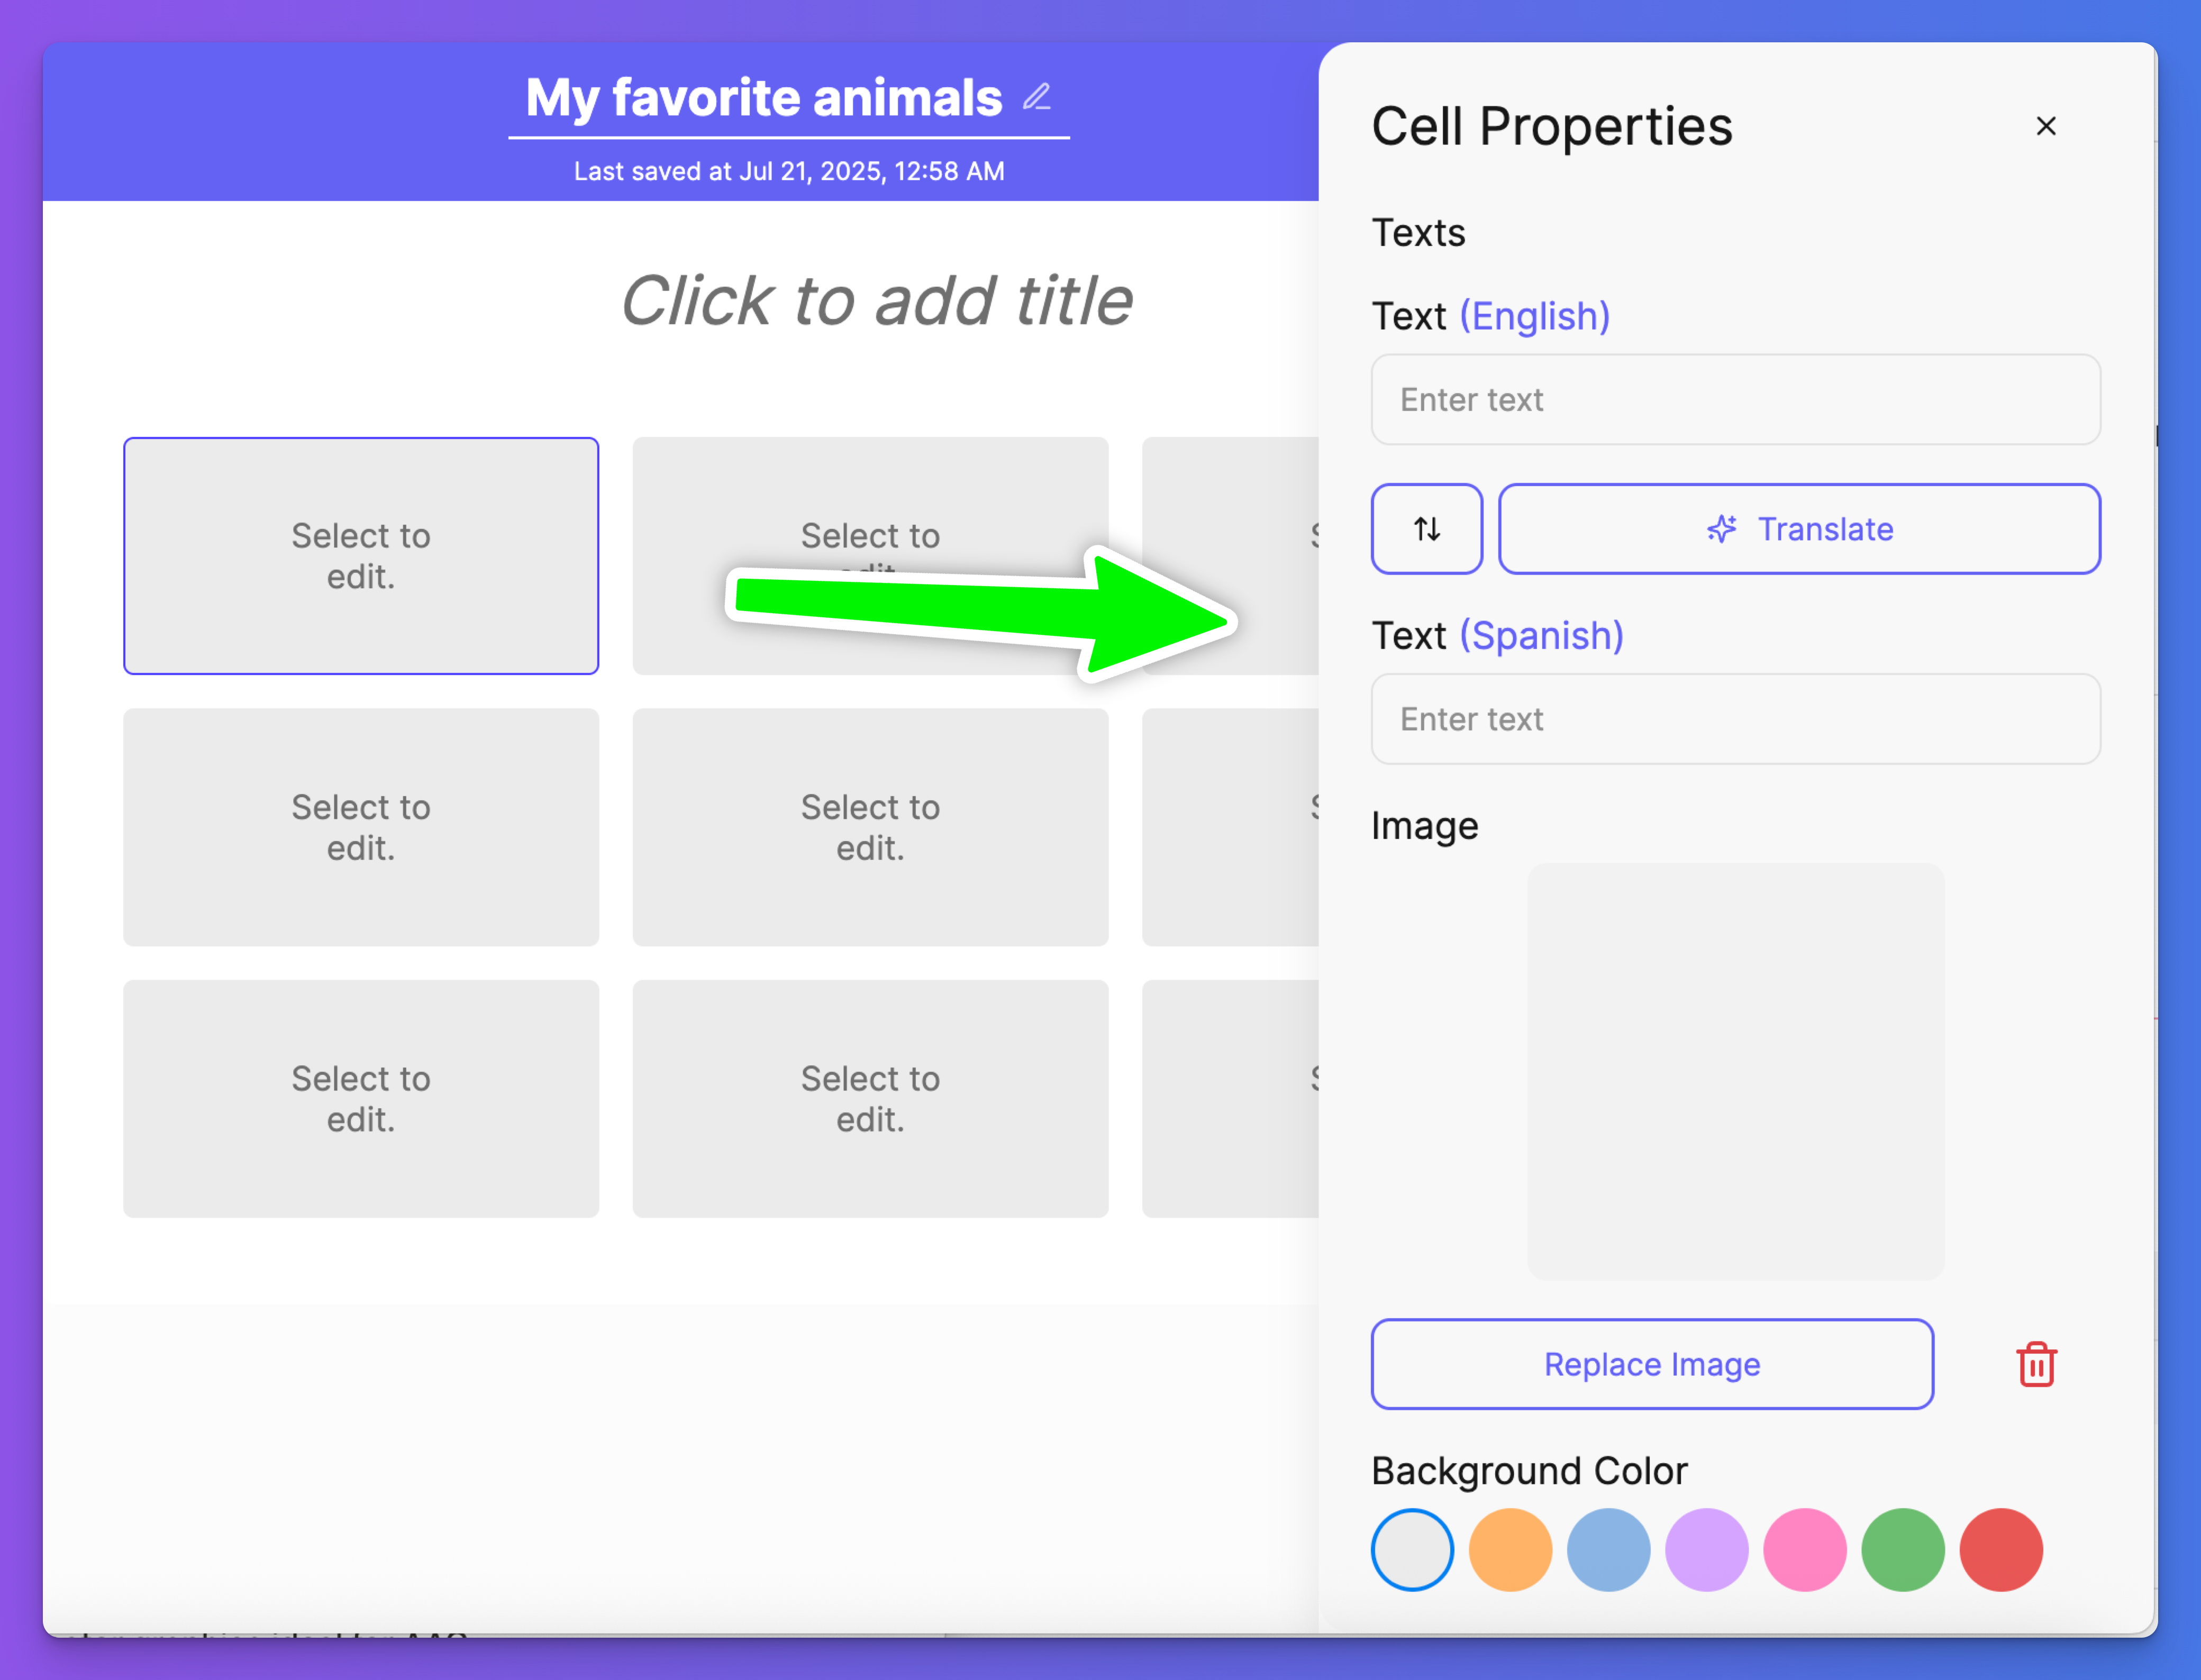
- Cell Properties panel: Customize individual cells
- Page Settings panel: Edit page orientation and language display.
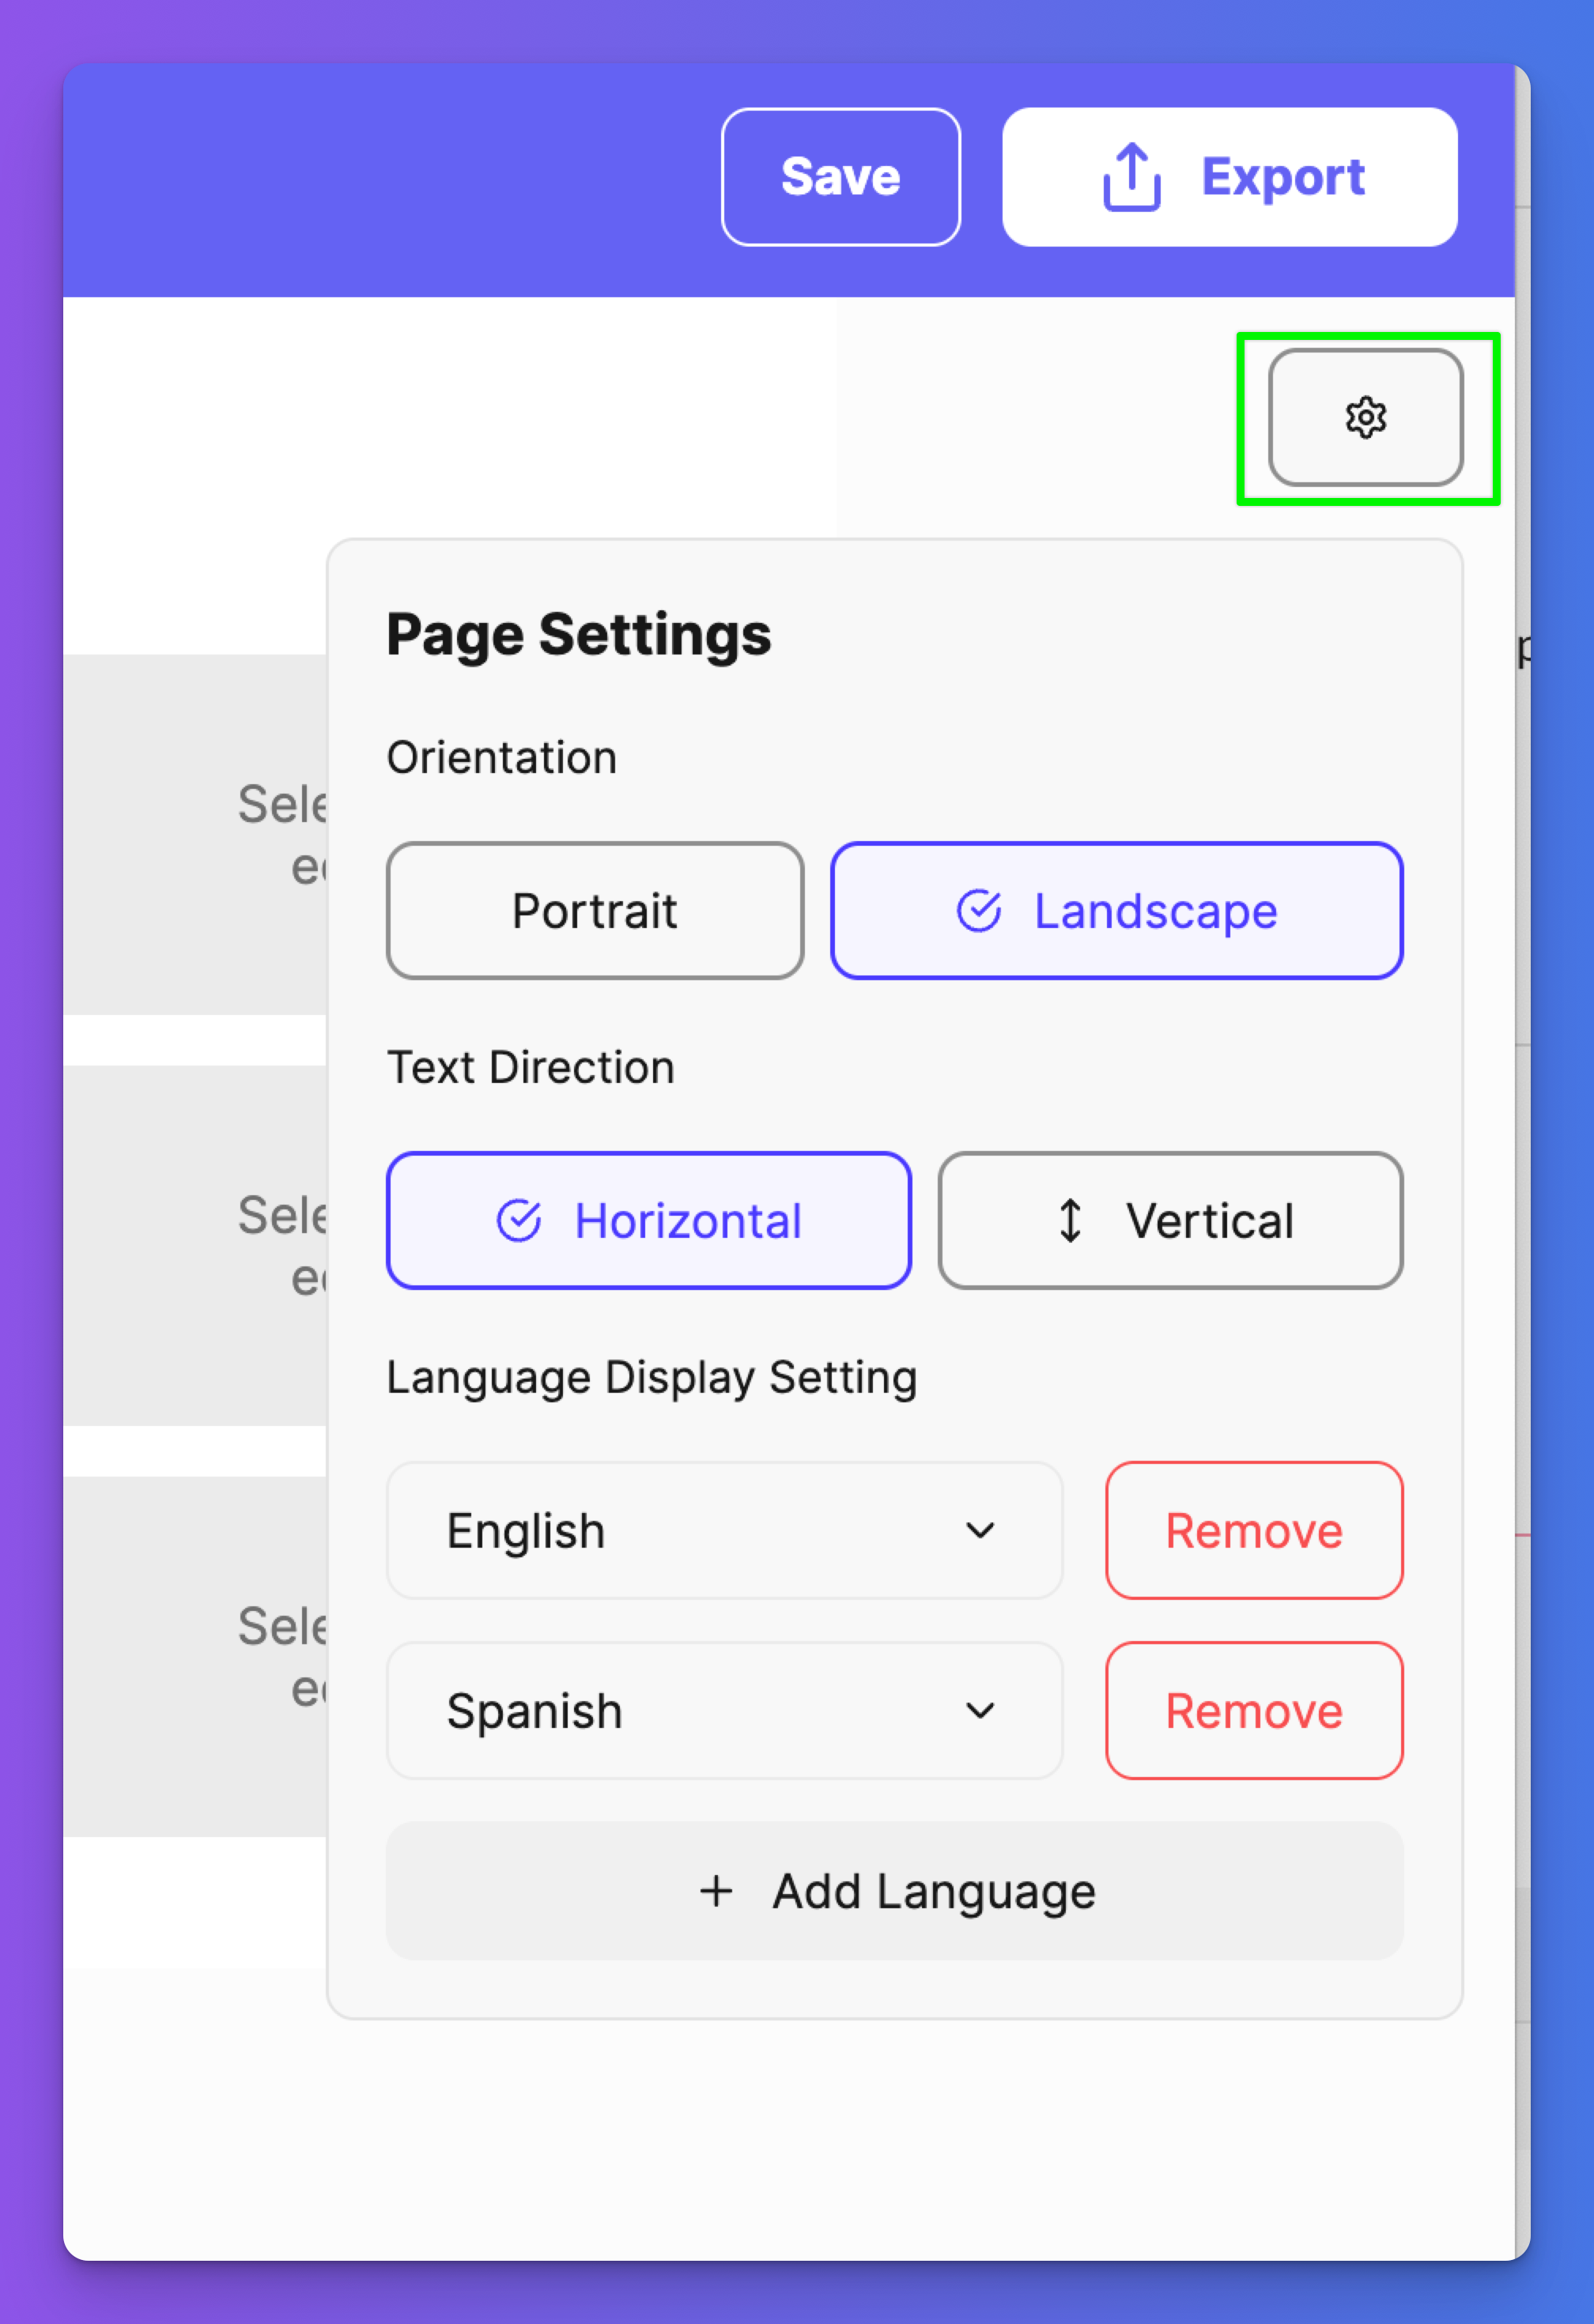
Adding Content with Quick Add (AI-Powered Content Generation)
- Click "Quick Add" in the left sidebar
- Enter a topic in the text field (e.g., "Science project of creating a volcano") or click "Upload Images" to add custom photos
- Choose Symbol Style:
- Symbols: Vector-based AAC symbols
- Photos: Realistic photographs
- Click "Generate" to create content automatically
Understanding Symbol Styles
- Symbols: Clean, consistent vector graphics ideal for AAC
- Photos: Real-world images that provide concrete visual references
Manual Cell Editing
- Click any cell
- The Cell Properties panel opens on the right
- Add text in multiple languages:
- Use "Translate" button for automatic translation
- Upload or replace images using the image controls
- Customize appearance with background colors
Rearranging the Board
Click and drag any tile to rearrange its position on the grid
Saving and Exporting
Saving Your Work
Flexspeak Studio uses manual saving to ensure you have control over when changes are preserved.
- Click "Save" in the top toolbar regularly to preserve your work
- Save frequently while editing to avoid losing changes
- Last saved timestamp will update
- Always save before exporting or closing the editor
Exporting Studio
- Click "Export" in the top toolbar
- Print directly or save for later use
- Empty cells will appear as blank spaces in the exported file - ensure all intended cells have content before exporting
Multi-page grid boards
Studio can include multiple pages in one document for grid templates — with tiles that link to other pages for folder-style navigation.
Add pages
- Open a grid template in Studio.
- Use the page bar at the bottom of the editor to switch between pages.
- Tap Add page to create another page in the same printable.
- Rename or reorder pages from the menu on each page tab.
Link tiles to another page
- Select a tile.
- Open Link to page in the tile toolbar or style panel.
- Choose a target page, or create a new page and link it in one step.
- Choose Navigate (jump silently, like an AAC folder) or Speak then navigate (speak the label, then switch pages).
Play mode & export
- In Play, move between pages with linked tiles; use Back and Home when you need to return.
- Export produces a multi-page PDF — one printed page per board page.